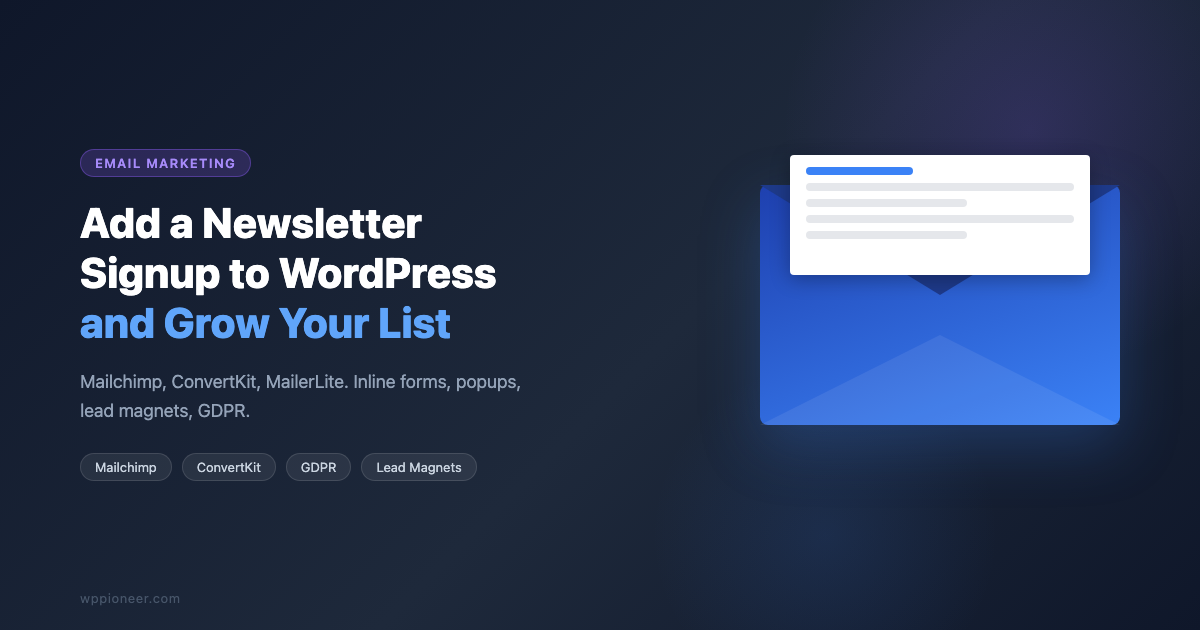
The Essential Guide to Adding a Newsletter Signup in WordPress (Grow Your List Fast)

You’ve built your WordPress site, you’re publishing content, and now you want to turn visitors into subscribers. An email list is one of the most valuable assets you can build as a site owner. Unlike social media followers, email subscribers are yours. No algorithm changes will take them away.
This guide covers everything from picking the right email service provider to placing your signup forms where they actually convert. We’ll look at Mailchimp, ConvertKit, and MailerLite, and walk through the technical steps for each approach.
Why an Email List Beats Every Other Channel
Social platforms can change their algorithms overnight. Search rankings shift. But an email list is a direct line to people who raised their hand and said they want to hear from you.
- Ownership: You own your list. Export it anytime and move to a different provider.
- Reach: Email open rates average 20-40%, far above organic social reach.
- Conversion: Email converts better than social for product launches, affiliate promotions, and course enrollments.
- Longevity: A subscriber from three years ago can still buy from you today.
Choose Your Email Service Provider (ESP)
Before adding a signup form to your WordPress site, you need an ESP. Here’s how the three most popular free-tier options compare for WordPress users:
| Provider | Free tier | Best for | WordPress integration |
|---|---|---|---|
| Mailchimp | 500 contacts, 1,000 emails/month | Beginners, e-commerce | Official plugin + direct API |
| ConvertKit | 10,000 subscribers (free plan) | Content creators, bloggers | Official plugin + Zapier |
| MailerLite | 1,000 subscribers, 12,000 emails/month | Small businesses, bloggers | Official plugin + API |
For most new WordPress blogs, start with MailerLite or ConvertKit’s free tier. Mailchimp’s free plan became more restrictive in 2023, limiting automation on free accounts.
Method 1: Use the Official Plugin (Recommended for Beginners)
Every major ESP offers an official WordPress plugin. This is the fastest path from signup to live form.
Setting Up Mailchimp with MC4WP
The best Mailchimp WordPress integration is actually a third-party plugin: MC4WP (Mailchimp for WordPress) by ibericode. It has over 2 million active installs and handles Mailchimp’s API reliably.
- Install and activate MC4WP: Mailchimp for WordPress from the plugin directory.
- Go to Mailchimp for WP > Mailchimp and connect your Mailchimp API key.
- Under Mailchimp for WP > Forms, create a new form and choose your audience (list).
- Copy the shortcode (e.g.,
[mc4wp_form id="123"]) and paste it in any post, page, or widget.
Setting Up ConvertKit
ConvertKit’s official plugin adds a block to Gutenberg and a widget for sidebars.
- Install ConvertKit for WordPress from the plugin directory.
- Go to Settings > ConvertKit and connect your API key.
- Select your default form (created in ConvertKit’s dashboard).
- In any post or page, add the ConvertKit Form block and pick your form.
Setting Up MailerLite
- Install MailerLite – Signup forms (official).
- Connect your MailerLite account via the settings page.
- Create embedded forms in MailerLite’s dashboard, then copy the shortcode to your WordPress site.
Method 2: Custom API Integration (For Developers)
If you want full control over the form design and behavior, you can build a custom integration with the Mailchimp API using WordPress hooks. This gives you a branded form with no plugin overhead.
Here’s the full working integration, split into three files hosted as a GitHub Gist:
The 01-mailchimp-integration.php file registers an AJAX handler that calls Mailchimp’s API directly. It handles both new subscribers and “Member Exists” cases gracefully.
Use [newsletter_signup] as a shortcode anywhere on your site. You can override the button text and placeholder via shortcode attributes.
Form Placement Strategies That Actually Work
Where you put your form matters as much as the form itself. Based on data from thousands of content sites, here’s what converts:
| Placement | Avg conversion rate | Notes |
|---|---|---|
| Within post content (mid-article) | 0.5-1.5% | High intent readers, reads naturally |
| Below post content | 0.3-0.8% | Catches engaged readers at the end |
| Exit-intent popup | 2-5% | Best ROI but can annoy mobile users |
| Sticky header/footer bar | 0.2-0.5% | Always visible, low friction |
| Sidebar | 0.1-0.3% | Lowest performing on mobile |
| Dedicated landing page | 10-30% | With ad traffic or social promotion |
The Mid-Article Placement
Placing your signup form after the second or third section of a long post captures readers who are already engaged but haven’t finished. This outperforms end-of-post forms because readers who make it to the end often just close the tab.
With a block editor, add a Group block mid-article, style it with a light background color, and drop in your ConvertKit or MC4WP form block inside it.
Exit-Intent Popups
Tools like Hustle (free), Mailchimp’s popup builder, or ConvertKit’s landing pages can trigger a modal when a user’s cursor moves toward the browser’s close button. On desktop, this can convert 2-5% of bouncing visitors. On mobile, implement it on a scroll-out trigger instead (when the user scrolls up fast, indicating they’re about to leave).
GDPR-Compliant Signups
If any of your visitors are in the EU, you need explicit consent for email marketing. “Subscribing” does not imply consent to marketing under GDPR unless you say so clearly.
The requirements are:
- A clear, unambiguous consent statement (not pre-checked)
- Identification of who is collecting data
- Statement of what emails they’ll receive
- Link to your privacy policy
Example compliant checkbox text: “I agree to receive the WP Pioneer weekly newsletter. I can unsubscribe at any time. See our privacy policy.”
The following snippet adds GDPR consent handling server-side and logs consent timestamps for audit purposes:
Lead Magnets: The Fastest Way to 0 to 1,000 Subscribers
A lead magnet is a free resource you give away in exchange for an email address. The right lead magnet can 5-10x your signup rate compared to a plain “subscribe for updates” form.
Lead Magnet Ideas That Work for WordPress Blogs
- PDF checklist or cheatsheet: “WordPress Launch Checklist: 25 things before going live” converts 3-8x better than a generic subscribe CTA.
- Email course: A 5-day sequence covering one specific topic. ConvertKit makes this easy with automated sequences.
- Template or starter file: A WordPress starter config, a pre-built Notion template, a sample style guide. High perceived value.
- Resource list: “The exact plugins I use on every site I build” is consistently clicked for tutorial blogs.
- Private content: Lock a section of your best post behind a “join to read more” gate using a plugin like WP Subscriber or MemberPress Light.
Delivering Lead Magnets in WordPress
The simplest delivery path: upload your PDF to WordPress media library, then use ConvertKit’s “Incentive email” setting to automatically send the download link on confirmation. No extra plugin needed.
For gated content, ConvertKit’s “Free Content” feature can hide post content and show a signup form to non-subscribers. Alternatively, ConvertKit’s shortcode [convertkit_login] shows content only to confirmed subscribers.
Writing Emails That People Actually Open
Growing a list matters, but what you send matters more. A list of 500 engaged subscribers will generate more revenue than 5,000 people who never open your emails.
Subject Line Rules
- Keep it under 50 characters. Mobile clients cut off longer subjects.
- Be specific. “The 3 WordPress plugins breaking your speed score” outperforms “This week’s tips.”
- Use curiosity gaps carefully. “Here’s what I found” works once. It wears thin on issue 10.
- Preview text (the snippet under the subject) is a second subject line. Use it.
Email Cadence
For WordPress tutorial blogs, a weekly email that points to your latest post is the easiest format to sustain. Consistency beats frequency. An audience that expects your email every Tuesday will open it at a higher rate than one that gets irregular sends.
Send emails on a schedule you can maintain, not on a schedule you think sounds impressive.
Inline Forms vs. Popup vs. Dedicated Landing Page
Each format has its place. Here’s when to use each:
- Inline forms: Use within content pages where you want non-intrusive, contextually relevant signups. Best combined with a relevant lead magnet.
- Popups: Use exit-intent or scroll-triggered popups on your highest-traffic posts. Avoid on pages where the visitor is mid-task (checkout, contact form).
- Dedicated landing page: Use when you’re running paid traffic or promoting on social. A page with no navigation, one offer, and one form. ConvertKit and MailerLite both offer hosted landing pages with custom domains at no extra cost on their free plans.
Tracking What’s Working
Once you have forms placed, track these metrics in your ESP dashboard:
| Metric | What it tells you | Healthy range |
|---|---|---|
| Signup rate by form | Which placement converts best | 0.5-3% of pageviews |
| Confirmed subscriber rate | How many double-opt in (if enabled) | 60-80% of signups |
| Open rate | Subject line + sender reputation quality | 20-40% |
| Click rate | Content relevance | 2-5% |
| Unsubscribe rate | List health + email frequency fit | Below 0.5% per send |
Most ESPs show which forms are generating the most subscribers. Check this monthly and move forms from low-performing to high-performing placements.
Common Mistakes That Kill Your Signup Rate
- Vague CTA: “Subscribe for updates” tells them nothing. Tell them exactly what they’ll get and how often.
- Too many fields: Name + email is the maximum for most forms. Every extra field drops conversions by 10-20%.
- No social proof: Adding “Join 2,400 readers” or a short testimonial near the form increases conversions measurably.
- Slow form loading: If your signup plugin loads 5 external scripts, it’s slowing the page. Test with a lightweight API-based approach or use ConvertKit’s hosted form embed with a single script tag.
- Not confirming double opt-in: Some countries legally require it. Even where it’s optional, double opt-in produces a cleaner list with higher engagement.
Growing From 0 to 1,000 Subscribers: A Realistic Timeline
With no existing audience, 1,000 subscribers in 12 months is achievable with consistent content publishing. Here’s a realistic trajectory:
- Month 1-2: Set up your ESP, add inline forms to existing posts, write a lead magnet. Expect 0-20 subscribers from organic traffic.
- Month 3-6: Publish 4-8 new posts with embedded forms. Guest post on 2-3 sites in your niche with a link to your lead magnet landing page. Reach 50-200 subscribers.
- Month 6-9: Promote your lead magnet in relevant communities (Reddit, Facebook groups, Discord servers). One well-placed post in an active community can bring 50-200 signups in 48 hours.
- Month 9-12: Your growing traffic compounds. Existing posts with good SEO rankings feed the funnel continuously. 500-1,000 subscribers is realistic by month 12 with 20+ published posts and consistent email sends.
The key variable is traffic. Email list growth is downstream of content growth. More traffic to posts with well-placed forms means more subscribers.
Segmenting Your List for Better Engagement
Once you have 200+ subscribers, segmentation becomes worth setting up. A segmented list sends the right content to the right people: beginners get beginner guides, developers get technical tutorials. Segmented campaigns consistently outperform unsegmented sends by 14-15% in open rate and 100% in click rate (Mailchimp internal data).
Simple ways to segment a WordPress tutorial list:
- By lead magnet: Tag everyone who downloaded the “beginner checklist” differently from those who downloaded the “advanced block development guide.” Their interests are clearly different.
- By engagement: After 90 days, tag subscribers who opened fewer than 2 emails as “cold.” Send a re-engagement sequence before unsubscribing them. This keeps your list clean and your sender reputation high.
- By self-selection: On your first welcome email, include two links: “I’m a beginner” and “I’m a developer.” Tag based on which they click. From there, send different sequences to each group.
All three major ESPs (Mailchimp, ConvertKit, MailerLite) support tags and automated tag assignment. Set this up early, before your list gets large enough that retroactive segmentation becomes impractical.
Next Steps
Pick one ESP, set up one form on your most-visited post, and write one lead magnet that’s directly relevant to that post’s topic. That combination will outperform a more elaborate setup with no lead magnet.
Once you have a working signup form, your next focus should be on-site SEO to drive more organic traffic to the posts where your forms live. The more people who find your content, the faster your list grows.
A/B Testing Your Signup Forms
Once your forms are live and generating at least 50 signups per month, A/B testing different form variants is worth the investment. Test one element at a time: button text, headline copy, or the presence of a lead magnet offer. ConvertKit and MailerLite both have built-in A/B testing for forms. Run each test for at least two weeks to gather statistically meaningful data before choosing a winner.
If you want to go deeper on the plugin side, our guide on how to set up WordPress email marketing with the right plugin stack walks through WP Mail SMTP, transactional email configuration, and deliverability best practices.