The Proven Guide to WordPress Migration: Move to a New Host With Zero Downtime

Moving a WordPress site to a new hosting provider is one of those tasks that sounds complicated but follows a clear, repeatable process. Done right, your visitors won’t experience a single second of downtime. Done wrong, you’re looking at broken links, a database that doesn’t match your files, or a site that’s down during the DNS switch.
This guide covers the complete migration process: manual migration via files and database, plugin-based migration for non-developers, DNS propagation, SSL setup on the new host, and testing before your visitors ever see the new server.
Before You Start: What “Downtime” Actually Means
True zero-downtime migration is possible because DNS changes take time to propagate (up to 48 hours). During that window, some visitors hit the old host and some hit the new one. The key is to have your site fully functional on the new host before you touch DNS.
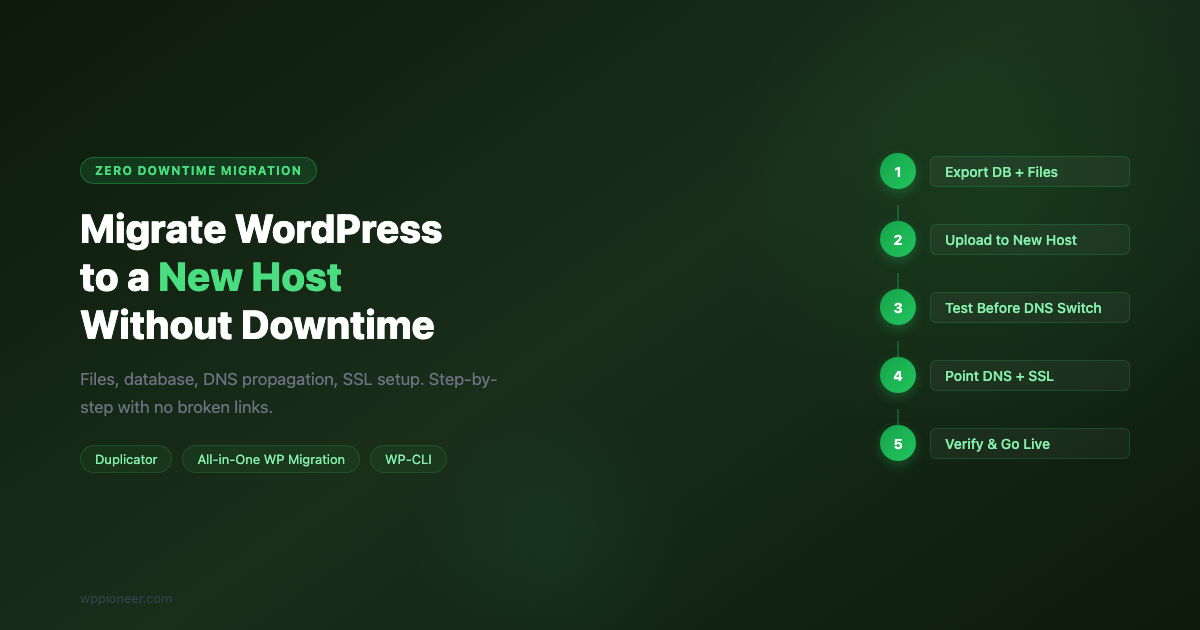
The strategy:
- Copy everything to the new host
- Test on the new host using a temporary URL or
/etc/hoststrick - Update DNS only after the new host is fully verified
- Keep the old host live for 24-48 hours as a fallback
Method 1: Manual Migration (Files + Database)
Manual migration gives you the most control and is the approach professional developers use. It takes 30-60 minutes.
The complete command sequence is in the GitHub Gist below:
What Each Step Does
- Export via WP-CLI:
wp db exportcreates a clean SQL dump with DROP TABLE statements so the import is idempotent. - rsync for files: Faster and more reliable than FTP for large sites. The
-avzflags preserve permissions, timestamps, and compress the transfer. - Search-replace in the database: Your WordPress database stores your domain name in hundreds of places, including serialized PHP arrays. WP-CLI’s
search-replacehandles serialized data correctly; a raw SQLREPLACE()query does not. - wp-config.php update: The only WordPress file you must manually edit on the new host before the site will load.
Testing Before DNS Switch
The /etc/hosts trick lets your computer resolve a domain to a specific IP address, overriding DNS. This means you can browse your site on the new host using your actual domain, without affecting any other visitor.
While this override is active, browse your entire site: check the homepage, open a few posts, visit the admin panel, and submit a test contact form. Confirm that images load, that links work, and that HTTPS works (you’ll need an SSL cert on the new host first).
Method 2: Plugin Migration (Duplicator or All-in-One WP Migration)
If you don’t have SSH access to both servers, plugins are the practical choice. Two plugins dominate this space:
| Plugin | Free limit | Method | Best for |
|---|---|---|---|
| Duplicator | ~500MB package | Creates a self-installing zip | Standard migrations, new host setups |
| All-in-One WP Migration | 512MB import (free) | Download + upload flow | Smaller sites, simple process |
| WP Migrate (by Delicious Brains) | Push/pull media + DB | Direct server-to-server | Agencies, frequent migrations |
Duplicator Step-by-Step
- Install Duplicator on your current site. Go to Duplicator > Packages > Create New.
- Run the wizard (the free version scans and packages your full site). Download two files: the installer ZIP and the
installer.phpfile. - On your new host, create a fresh database and upload both files to the WordPress root directory.
- Visit
https://newhost-temp-url.com/installer.php. The wizard walks you through importing the database and updating the site URL automatically. - Test the site, then point DNS to the new host and delete the installer files.
All-in-One WP Migration Step-by-Step
- Install on old site: All-in-One WP Migration > Export > File. Download the
.wpressfile. - Install on new site: All-in-One WP Migration > Import. Upload the file.
- The plugin handles domain search-replace automatically during import.
- After import, update
wp-config.phpif you changed database credentials on the new host.
Note on size limits: The free version caps imports at 512MB. For larger sites, you need the paid version or the manual approach above.
SSL Setup on the New Host
Most hosts offer free Let’s Encrypt SSL certificates, but you need to provision one on the new host before you point DNS. Here’s why: after the DNS switch, browsers will immediately request HTTPS. If there’s no cert on the new host, visitors see a security warning.
On cPanel Hosts
Look for Security > SSL/TLS or AutoSSL in cPanel. Hostinger, Bluehost, and SiteGround all provision Let’s Encrypt through cPanel automatically when the domain is added to the account. Add your domain to the new account before the DNS switch, and the SSL cert will be ready.
On Cloud Hosts (DigitalOcean, Vultr, Linode)
SSH into the new server and run:
Certbot will provision and auto-renew your certificate. Note: Certbot requires the domain to resolve to the server for domain validation. If DNS hasn’t switched yet, use DNS-based challenge (--preferred-challenges dns) instead.
Understanding DNS Propagation
DNS propagation means your domain’s new IP address needs to spread across DNS resolvers worldwide. This typically takes 1-6 hours for most users, but can take up to 48 hours in edge cases.
Minimizing Propagation Impact
- Lower TTL in advance: Before migration, reduce your DNS record’s TTL (Time to Live) to 300 seconds (5 minutes) at your DNS provider. Do this 24 hours before the migration. After migration, raise it back to 3600. With a low TTL, propagation happens in minutes, not hours.
- Choose a low-traffic time: Migrate at 2-4 AM in your site’s primary timezone. Most sites have 10-20x less traffic at night.
- Keep the old host online: Don’t cancel or delete your old hosting account for at least 48 hours after the DNS switch. Visitors still hitting the old server will have a working site.
Checking Propagation Status
Use dnschecker.org to see which DNS resolvers worldwide have picked up your new IP address. You’ll see a map that fills in as propagation spreads. Don’t cancel your old host until the map is mostly green. If you’re using Cloudflare, propagation is nearly instant because Cloudflare is itself a DNS resolver.
Fixing Serialized Data Issues
If you ran a manual SQL REPLACE() query on the database instead of using WP-CLI, widget settings, theme options, or navigation menus may appear broken. This is because serialized PHP data stores byte counts, and a domain string change invalidates those counts.
Use the following script to fix affected rows in wp_options:
Run it once via browser as an admin, then delete the file immediately. WP-CLI’s built-in search-replace avoids this issue entirely, which is why it’s the preferred method.
Handling Large Databases and Media Libraries
Sites with thousands of images, large video files, or databases over 1GB require a different approach. The standard export/import methods can time out or run out of memory.
Large Database Exports
For databases over 200MB, use WP-CLI directly rather than phpMyAdmin. phpMyAdmin has a script execution time limit that kills large exports partway through. WP-CLI runs in the shell with no such limit:
If SSH isn’t available on the old host, use the BigDump MySQL script to split large SQL files into chunks and import them sequentially. Alternatively, contact your new host’s support team: most managed WordPress hosts have a migration service that handles large sites directly.
Large Media Libraries
For wp-content/uploads directories over a few gigabytes, rsync is far more efficient than FTP or a zip download. rsync transfers only changed files and resumes interrupted transfers. If you’re migrating from a cPanel host to a cloud server:
This can run in the background overnight for very large media libraries. Run it a second time right before the DNS switch to pick up any files uploaded during the transfer.
Post-Migration Checklist
- Homepage loads over HTTPS with no mixed content warnings
- Admin login works at
/wp-admin - A few posts and pages open correctly
- Images display properly (check one post with several images)
- Contact forms submit successfully
- Emails are delivered from the new host (test with a contact form submission)
- All plugins are active and working
- Performance is comparable to the old host
- Google Analytics / tracking scripts load
If emails stop working, your new host’s mail server configuration differs from the old one. Install WP Mail SMTP and configure it with an external SMTP provider like SendGrid, Mailgun, or SMTP.com.
Common Migration Errors and Fixes
| Error | Cause | Fix |
|---|---|---|
| White screen after migration | Plugin conflict on new PHP version or missing database | Enable WP_DEBUG, check error logs, disable plugins via FTP |
| Images not loading | Uploads folder permissions wrong | Set wp-content/uploads to 755 |
| Redirect loop on admin | Site URL / home URL mismatch in database | Run: wp option update siteurl https://newdomain.com |
| Theme broken / unstyled | wp_options serialization corruption | Run the fix-serialized-data.php script above |
| SSL warning in browser | No cert on new host | Provision Let’s Encrypt on new host before DNS switch |
Summary
Migration success comes down to one principle: have everything working on the new host before you touch DNS. Test with /etc/hosts, confirm SSL, run through the post-migration checklist, and only then update your DNS records. Keep the old host running for 48 hours as a safety net.
If you’re moving to improve your site’s speed, check your hosting performance as part of your post-migration testing. Poor hosting is the most common reason for slow WordPress sites, and migration is the right time to validate that the new host is actually faster.
Migrating a Multisite Network
WordPress Multisite migrations require additional steps beyond a standard single-site move. Each subsite has its own tables with a numeric prefix (wp_2_posts, wp_3_posts, etc.), and the search-replace needs to handle both the network’s primary domain and any mapped domains for individual subsites.
For Multisite, always use WP-CLI’s --network flag:
The --precise flag handles serialized data correctly across all tables in the network. Without it, multisite widget settings and mapped domain configurations can break. Also update the domain column in the wp_blogs table if any subsite uses a custom mapped domain.
Email Configuration After Migration
One of the most commonly missed steps in a migration: email delivery. Your old host had an SMTP server that WordPress used via PHP’s mail() function. Your new host may have different mail configuration, a stricter relay policy, or IP reputation issues that cause emails to land in spam.
Test immediately after migration: submit a contact form or trigger a password reset email. Check your spam folder if the email doesn’t arrive. If email is broken:
- Install WP Mail SMTP (free plugin, 3+ million active installs).
- Configure it to use an external SMTP service: SendGrid (100 free emails/day), Mailgun, or Gmail SMTP (suitable for low volume).
- Use the plugin’s test email function to confirm delivery.
- Check your order confirmation and contact form emails with a real test submission.
Transactional email from a new server IP often fails initially because the IP has no sending history. An external SMTP provider (SendGrid, Mailgun, SES) uses established IP addresses with good sender reputation, which bypasses this cold-start problem entirely.
Verifying Search Rankings After Migration
After DNS propagation completes, monitor your Google Search Console performance data for the first two weeks. Migration done correctly should show zero ranking impact. If you see drops:
- Check for redirect chains: Redirects from HTTP to HTTPS and from www to non-www (or vice versa) should each be a single 301, not a chain. A chain (HTTP -> HTTPS -> www -> non-www) adds latency and can dilute PageRank.
- Verify canonical tags: Your SEO plugin’s canonical URLs should match the new domain exactly. Check a few pages with URL Inspection in Search Console.
- Check for noindex: A common migration mistake is leaving a “Discourage search engines” setting active from a staging period on the new host. Verify under Settings > Reading that this is unchecked.
After completing the migration, update your server documentation to record the new hosting details, PHP version, and any configuration changes. This reference becomes invaluable if you need to migrate again, debug a server issue, or hand the site off to another developer. A brief text file in a private repository with host credentials, server specs, and migration date takes five minutes to create and saves hours in future troubleshooting.
Before you start any migration, make sure you have working backups. Our guide on how to set up automated WordPress backups before your next migration covers UpdraftPlus, ManageWP, and WP-CLI backup commands that run on a schedule.