WooCommerce Checkout Customization: The Complete Guide to Safe, Powerful Changes

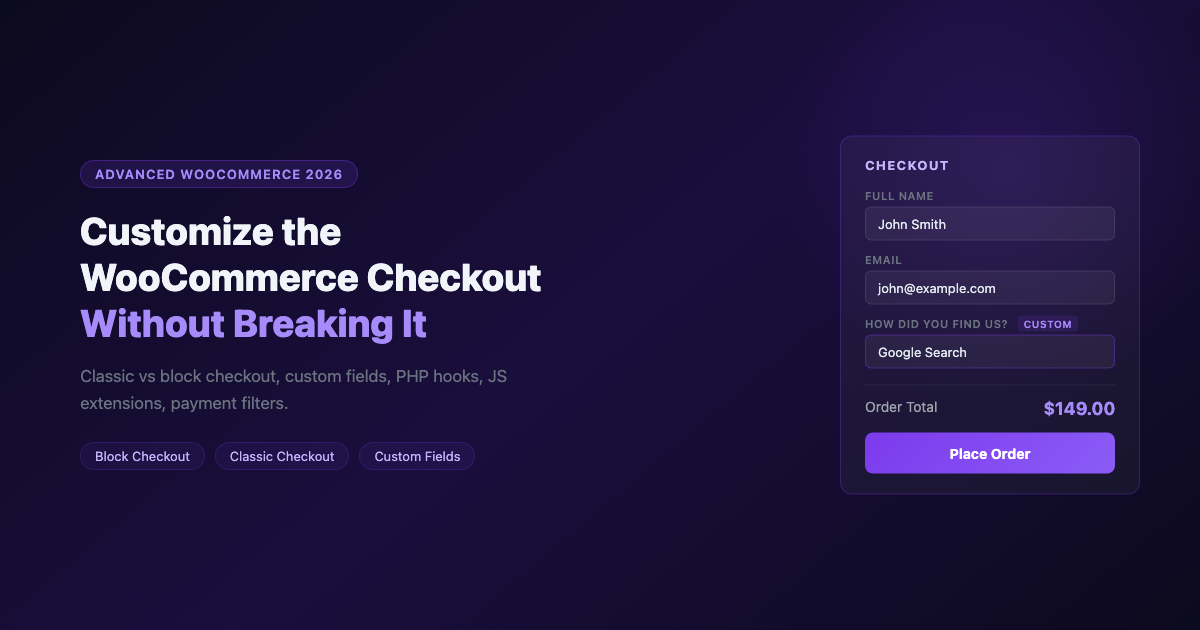
The WooCommerce checkout is where sales happen or don’t. Every unnecessary field, confusing layout choice, or broken payment step costs money. Customizing the checkout isn’t about making it look different for its own sake – it’s about removing friction and adding the information you actually need from customers.
This guide covers both the classic shortcode checkout and the newer block checkout introduced in WooCommerce 8.3+. We’ll add custom fields, validate and save data, filter payment gateways, and extend the block checkout without breaking anything.
Classic Checkout vs. Block Checkout: Know Which One You Have
WooCommerce shipped two checkout systems. The one you have depends on when you set up WooCommerce and how you configured the Checkout page.
| Feature | Classic Checkout | Block Checkout |
|---|---|---|
| Added by | [woocommerce_checkout] shortcode | Checkout block in Gutenberg |
| Hooks for fields | woocommerce_checkout_fields, woocommerce_after_order_notes | JavaScript extensions via @woocommerce/blocks-checkout |
| PHP field control | Full control via filters | Limited; most customization is JS-based |
| Default for new installs | WooCommerce below 8.3 | WooCommerce 8.3+ (if Gutenberg active) |
To check: Go to your Checkout page in the editor. If you see a block labeled “Checkout” in the block list, you have the block checkout. If the page source shows [woocommerce_checkout], it’s the classic checkout.
Classic Checkout: Adding Custom Fields
The classic checkout exposes a hook-based system for adding, modifying, validating, and saving custom fields. The full three-step process is in the Gist below:
Available Field Hooks
WooCommerce exposes hooks at different positions in the checkout form:
| Hook | Position |
|---|---|
| woocommerce_before_checkout_billing_form | Above billing fields |
| woocommerce_after_checkout_billing_form | Below billing fields |
| woocommerce_before_checkout_shipping_form | Above shipping fields |
| woocommerce_after_checkout_shipping_form | Below shipping fields |
| woocommerce_before_order_notes | Above order notes |
| woocommerce_after_order_notes | Below order notes |
| woocommerce_review_order_before_payment | Above payment section |
Modifying Default Billing Fields
Use the woocommerce_checkout_fields filter to change, remove, or reorder default fields. Common examples: making the phone number optional, removing the company name field, or relabeling “Order notes” to something more context-specific.
To remove the company field:
To make phone optional:
Reordering Fields
Every WooCommerce checkout field has a priority value that controls its order in the form. Lower numbers render first. The default billing_first_name priority is 10, billing_last_name is 20, billing_email is 110. To move a field, change its priority:
If two fields share the same priority, WooCommerce renders them in the order they appear in the array. Inspect the default fields array with var_dump( WC()->checkout()->get_checkout_fields() ) in a test environment to see all current priorities before changing them.
Block Checkout: JavaScript Extensions
The block checkout uses a slotfill system based on WordPress’s plugin/slot architecture. You register extensions via JavaScript using @woocommerce/blocks-checkout.
This registers a custom component in the ExperimentalOrderMeta slot, which renders in the order summary sidebar. For more extensive customizations (adding actual input fields to the block checkout), the ExperimentalOrderLocalPickupPackages slot and the __experimentalRegisterCheckoutFilters API from WooCommerce are the current paths. Note that the “Experimental” prefix means these APIs can change; always pin to a specific WooCommerce version in staging before deploying.
Building and Enqueuing the Block Extension
Block checkout extensions require a build step. Your JavaScript file uses the @woocommerce/blocks-checkout package, which is a peer dependency bundled with WooCommerce. To compile your extension:
- Initialize a package.json in your plugin directory:
npm init -y - Install the WooCommerce blocks scripts:
npm install @wordpress/scripts --save-dev - Build with:
npx wp-scripts build src/checkout-extension.js --output-path=build - Enqueue the built file on the
woocommerce_blocks_checkout_block_registrationhook or via standardwp_enqueue_scriptwith thewc-blocks-checkoutscript as a dependency.
The distinction between building for block checkout (block-based, Gutenberg-based checkout page) versus a custom payment gateway is important. Block checkout extensions render in the Gutenberg checkout block only. Classic checkout hooks still fire in the shortcode checkout only.
Filtering Available Payment Methods
Showing all payment gateways to all customers isn’t always the right approach. You might want to hide bank transfer for orders under a certain amount, or show a specific gateway only for recurring customers.
This filter runs on the classic checkout. For the block checkout, payment method filtering requires registering a payment method integration via the JavaScript API, which is more complex but follows the same principle.
Conditional Payment Gateways: Practical Examples
Some scenarios where gateway filtering adds real value:
- Hide “Bacs” (bank transfer) for small orders: Bank transfers make no sense for orders under $20. Filter it out when cart total is below a threshold.
- Show a specific gateway for specific countries: If you have a local payment method that only works in Germany, hide it for non-German billing addresses.
- Restrict cash on delivery to certain shipping zones: If you only offer COD for local delivery, check the shipping zone before showing that option.
Use WC()->cart->get_cart_contents_total() to check the cart total in a filter, and WC()->customer->get_billing_country() to check the country. Both are available by the time the checkout renders.
Customizing Checkout Layout Without a Plugin
The classic checkout layout (two columns, billing left, order review right) can be restructured with CSS. Add these rules to your theme’s stylesheet or Customizer Additional CSS:
Responsive Checkout on Mobile
The default WooCommerce checkout stacks vertically on small screens automatically, but the form fields are full-width, which can make the billing section feel long. To create a two-column layout for first name and last name on desktop while keeping single-column on mobile:
Test any checkout CSS changes on a real device, not just a browser resize. Mobile browsers handle viewport meta differently and some checkout forms break in ways that don’t show up in devtools mobile simulation.
Using a Plugin for No-Code Checkout Customization
For non-developers, two plugins cover most checkout customization needs without PHP:
- Checkout Field Editor for WooCommerce (by ThemeHigh): Free version lets you add, edit, and reorder fields in billing, shipping, and additional sections. Paid version adds conditional logic and date pickers.
- WooFunnels (now CartFlows): Replaces the standard checkout page with a custom funnel builder. Useful for upsells and simplified single-page checkout.
When to Use a Plugin vs. Custom Code
The answer depends on who’s maintaining the site. If you’re building for a client who needs to manage the checkout themselves, a plugin like Checkout Field Editor is easier to hand off. If you’re building for a technical team and the customizations are fixed requirements, custom code via a site plugin gives you tighter control and avoids plugin dependency chains.
One thing to avoid: combining two checkout field plugins on the same site. Plugins that hook into woocommerce_checkout_fields can conflict, producing duplicate fields, missing required fields on submission, or broken validation. If you’re already using Checkout Field Editor, add all new fields through it rather than mixing plugin and code approaches.
Adding an Order Bump or Upsell at Checkout
An order bump is a product offer displayed at checkout that the customer can add with a single click. Done well, it can increase average order value by 10-30% with no impact on the main purchase flow.
For the classic checkout, you can add a simple order bump using the woocommerce_review_order_before_payment hook combined with an AJAX handler that adds the bump product to the cart when checked:
The AJAX handler to add/remove the product when the checkbox changes goes in a separate functions file. If you’re running the block checkout, CartFlows handles this without custom code via its order bump UI.
Performance Considerations
The checkout page is the most conversion-critical page on your store. Any performance issue here costs money. Keep these in mind:
- Exclude checkout from caching: Every major caching plugin (WP Rocket, W3 Total Cache, LiteSpeed Cache) has a “never cache” setting. The WooCommerce checkout must be in that list. A cached checkout serves stale nonces, breaking form submissions.
- Don’t load unused plugins: Some plugins load scripts globally even on the checkout page. Use a plugin like Asset CleanUp or WP Rocket’s per-page exclusion to remove unused scripts from checkout.
- Test on mobile: Fill out your entire checkout on a real phone once a month. Mobile checkout experience degrades quickly when CSS or JavaScript changes are deployed.
Measuring Checkout Abandonment
Before optimizing, measure. Google Analytics 4’s funnel exploration report can show you exactly where customers drop off in the cart-to-checkout-to-purchase flow. Set up a funnel with these steps: Cart page, Checkout page, Order received page. GA4’s Enhanced Measurement captures page views automatically; you just need to build the funnel in the Explore section.
If you see high abandonment at the checkout page itself (before form submission), the issue is usually form length or unexpected shipping costs revealed at checkout. Both are fixable with the field reduction and shipping display improvements covered above.
The most impactful checkout customization is usually removing fields, not adding them. Every field you don’t require is friction you’ve eliminated.
Saving Custom Field Data to Orders
Adding a field to the checkout form is only half the job. You also need to save the data to the order so you can see it in the admin. Custom field data should be saved as order meta using woocommerce_checkout_update_order_meta:
To display the saved field in the order admin panel, hook into woocommerce_admin_order_data_after_billing_address:
If you want the data to appear on customer-facing order confirmation emails, hook into woocommerce_email_order_meta. This fires inside the email HTML for new order, processing order, and completed order emails.
Testing Your Changes
After any checkout customization, run through the complete purchase flow in Stripe test mode:
- Add a product to cart
- Proceed to checkout
- Fill in all fields, including your new custom field
- Complete payment with Stripe test card
4242 4242 4242 4242 - Check the order in WooCommerce > Orders and confirm your custom field data saved to the order
- Check that order confirmation emails reflect the correct data
Regression Testing Checklist
Every checkout code change needs to pass this checklist before going to production:
- New order is created with correct status (Processing for card payments)
- Order confirmation email arrives at the customer email address
- Admin new order email arrives at the store admin email
- Custom field data appears in the order edit screen
- Validation errors show for required fields left blank
- Validation errors clear on correction without page reload
- Test on mobile viewport (375px wide) – all fields tap-accessible and label visible
Test with a real product (not a free one) so the payment gateway runs through the complete authorization flow. Free products bypass most payment processing logic.
Updating Your Checkout After WooCommerce Upgrades
WooCommerce major version upgrades can change checkout hook behavior. After updating WooCommerce, always run through a test purchase in Stripe test mode to confirm your custom fields still display, validate, and save correctly. Check your order management view as well to make sure custom field data still appears in the order admin screen.
Checkout customizations interact directly with shipping options. Our guide on how to set up WooCommerce shipping options correctly explains how shipping zones and methods are structured, which informs how you conditionally show or hide checkout fields based on shipping selection.