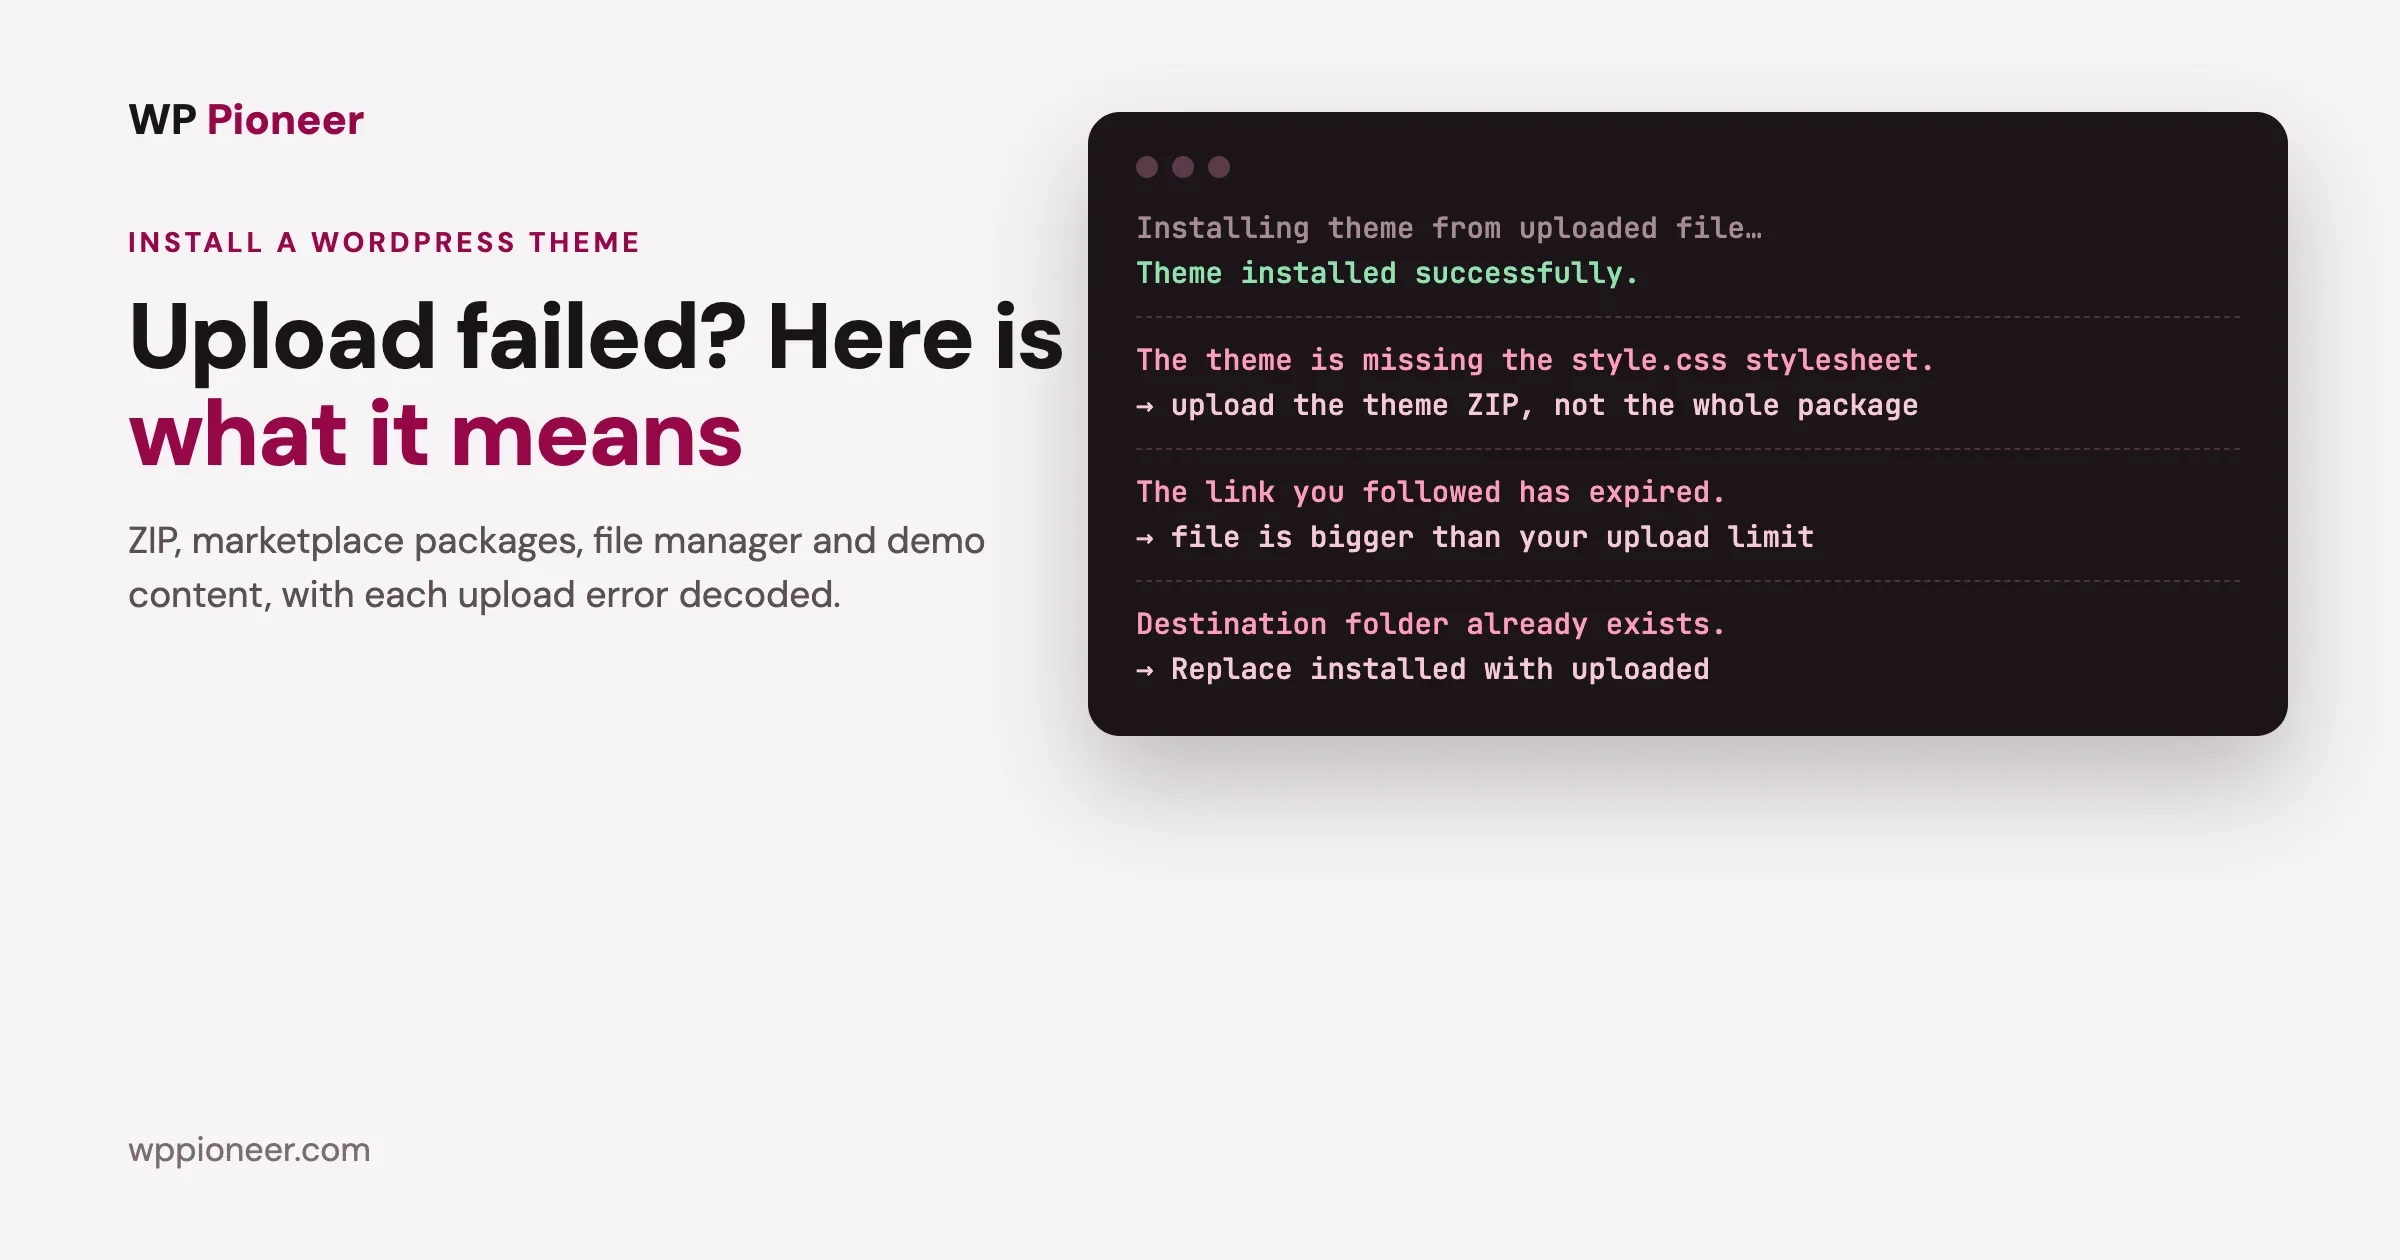
Installing a WordPress theme takes about two minutes when it works. When it does not, WordPress shows a short message that rarely explains itself: “The theme is missing the style.css stylesheet”, “The link you followed has expired”, “Destination folder already exists”. This guide covers every way to install a theme, from the free directory to a ZIP file you bought, plus demo content, and then decodes each error you might meet on the way, with the fix.
We refreshed this guide on 18 October 2026 using WordPress 7.1.3. Button names and error messages below are quoted as WordPress 7.1.3 shows them; the three upload errors were reproduced on a test site.
It is written for site owners rather than developers: if you can log in to your dashboard and open your host’s control panel, you can follow every step. Where a step needs the file manager or FTP, we say so and explain what to look for, and nothing here asks you to edit code. If your site is already live with visitors, read the Live Preview and “if the site breaks” sections before you activate anything new.
The short answer
- Free theme: Appearance, Themes, Add Theme, search, Install Now, then Activate.
- Theme you bought (ZIP file): Appearance, Themes, Add Theme, Upload Theme, choose the ZIP, Install Now, Activate. Upload the theme’s own ZIP, not the whole download package.
- Upload refused? “Missing the style.css stylesheet” means you uploaded the wrong ZIP. “The link you followed has expired” usually means the file is larger than your upload limit. “Destination folder already exists” means the theme is already installed, and WordPress offers to replace it.
- Before you switch themes on a live site, take a backup and use Live Preview first.
Which route should you use?
Your situation | Use |
|---|---|
You want a free theme | Route 1, the WordPress directory inside your dashboard |
You bought a theme and have a ZIP file under your upload limit | Route 2, Upload Theme |
The ZIP is larger than your upload limit, or uploads are blocked | Route 3, file manager or FTP |
You want the theme to look like its demo | Any route above, then the theme’s demo import |
You are updating a theme you installed by ZIP | Route 2 with the new ZIP, then “Replace installed with uploaded” |
Before you install: three quick checks
- Take a backup. Installing a theme is safe, but activating one changes how every page looks, and some themes add settings and widgets. A backup makes any change reversible. If you need one, see how to restore WordPress from a backup for what a usable backup looks like.
- Check the theme’s requirements. The theme page lists the WordPress and PHP versions it needs. Your versions are in Tools, Site Health, Info.
- Know what kind of theme it is. Block themes are edited in Appearance, Editor; classic themes use Appearance, Customize and widgets. Either is fine; they are set up differently.
Route 1: install a free theme from the WordPress directory
This is the safest route, because themes in the official directory are reviewed before they are listed.
- In the dashboard, go to Appearance, Themes.
- Click Add Theme at the top. The screen title changes to “Add Themes”.
- Browse Popular or Latest, use the feature filter, or search by name.
- Hover over a theme and click Preview to see a demo, or Install Now to install it.
- When it finishes, click Activate, or go back to Appearance, Themes and use Live Preview first.
Not sure where to start? The default theme on a new WordPress install is a good one: on our fresh WordPress 7.1.3 test site it was Twenty Twenty-Five. Our Twenty Twenty-Five guide shows how far you can take it before buying anything.
Route 2: upload a theme ZIP you bought or downloaded
- Download the theme from the shop or the developer’s site. Keep the file zipped; WordPress needs the ZIP.
- Go to Appearance, Themes, Add Theme.
- Click Upload Theme at the top. A box appears: “If you have a theme in a .zip format, you may install or update it by uploading it here.”
- Choose the ZIP file and click Install Now.
- WordPress shows “Unpacking the package… Installing the theme… Theme installed successfully.” Then click Live Preview or Activate.
Theme packages from marketplaces such as ThemeForest
Marketplace downloads often come in two forms: the full package (theme files plus documentation, licences, child theme, sometimes plugins and demo files), or only the installable WordPress file. If you download the full package, it is a ZIP that contains another ZIP for the theme itself. Unzip the package on your computer, find the theme’s own ZIP (usually named after the theme), and upload that. Uploading the whole package is the most common cause of the style.css error below.
Route 3: upload the theme by file manager or FTP
Use this when the dashboard upload is blocked by size limits or a security rule.
- Unzip the theme’s ZIP on your computer. You should get one folder with a
style.cssfile directly inside it. - Open your host’s file manager (or connect with an FTP app) and go to
wp-content/themes. - Upload the whole theme folder there. Many file managers also let you upload the ZIP and extract it in place; make sure the result is
wp-content/themes/theme-name/style.css, not a folder inside a folder. - Back in the dashboard, go to Appearance, Themes. The theme appears in the list; activate it from there.
Upload errors, decoded
Message | What it means | Fix |
|---|---|---|
The package could not be installed. The theme is missing the style.css stylesheet. Theme installation failed. | The ZIP is not a theme: usually a full download package, a plugin, or a ZIP with an extra folder level | Upload the theme’s own ZIP from inside the package |
The link you followed has expired. Please try again. | Most often, the file is larger than the server’s upload limit, so it never arrived | Check the limit, then upload a smaller file, raise the limit, or use the file manager route |
Destination folder already exists. | A theme with the same folder name is already installed | Use “Replace installed with uploaded” to update, or “Cancel and go back” |
A critical error after activating | The theme crashed, often because of an old PHP version or a missing required plugin | See “If the site breaks after activating” below |
“The theme is missing the style.css stylesheet”
Every WordPress theme has a style.css file at the top of its folder, and WordPress reads the theme’s name from it. When we uploaded a marketplace-style package (a ZIP holding the theme ZIP plus documentation folders) to WordPress 7.1.3, it stopped with exactly this message. The fix is to unzip the package on your computer and upload the inner theme ZIP. The same message appears if you try to upload a plugin as a theme.
“The link you followed has expired.”
This message is misleading for uploads. On our test site we lowered the upload limit to 1 MB and uploaded a 3 MB theme: WordPress answered “The link you followed has expired. Please try again.” The real problem was the file size; the upload never reached WordPress whole.
- Check your limit: go to Media, Add New. The page shows “Maximum upload file size” (ours said 1 MB).
- If the theme is bigger: ask your host to raise the upload size limits, or use the file manager route above, which avoids the limit.
- If the theme is smaller than the limit: the security token on the page may genuinely have expired; reload the page and upload again.
“Destination folder already exists.”
When we uploaded a theme that was already installed, WordPress 7.1.3 did not simply fail. It showed “Destination folder already exists” and “This theme is already installed”, then a side-by-side table of the installed and uploaded versions, with two buttons: Replace installed with uploaded and Cancel and go back. It also reminds you: “You are updating a theme. Be sure to back up your database and files first.” Use Replace to update a theme you bought from its new ZIP, after taking a backup. If you edited the theme’s files directly, those edits will be overwritten, which is why customisations belong in a child theme.
Installing demo content
Many themes, especially premium ones, offer “demo content” or “starter sites”: the sample pages, menus and images you saw on the theme’s demo, so you can replace text instead of building from nothing.
- How it is done varies by theme. Most use an import tool, either built into the theme or a companion plugin it asks you to install. Follow the theme’s own documentation.
- Import demo content on a new or staging site, not on a site with real content. Demo imports add pages, posts, menus and widgets, and some replace your homepage and settings.
- Install the required plugins first. Demos usually depend on them; skipping them leaves broken sections.
- If an import stalls, it is usually the server timing out on large images. Try again (most importers continue where they stopped), import without images if offered, or ask your host to raise time limits for a few minutes.
- Afterwards, delete demo pages and posts you will not use, so they do not appear in search results.
Activate safely with Live Preview
Before you activate a new theme on a live site, use Live Preview on Appearance, Themes. It shows your real content in the new theme without visitors seeing anything. Check:
- Your homepage, a blog post, a page and any shop or contact page
- Your menus: menu locations differ between themes, so you may need to reassign them
- Widgets and footers, especially when moving from a classic theme to a block theme
- The site on a phone-sized screen
Your posts, pages and images are not affected by switching themes; they stay in the database and uploads folder. What can change is layout, menus, widgets and any features the old theme provided through shortcodes.
If the site breaks after activating
- Dashboard still works? Go to Appearance, Themes and activate your previous theme.
- Dashboard broken too? Open your host’s file manager, go to
wp-content/themes, and rename the new theme’s folder (for example add-offto the end). WordPress then falls back to another installed theme. Keep at least one default theme installed for exactly this reason. - Then find the cause before trying again: the theme’s required PHP version, a required plugin, or a conflict with an existing plugin. Our guide to WordPress error messages decoded covers the critical error message and what to do.
What to do right after activating a new theme
- Set your menus. Classic themes: Appearance, Menus, then assign each menu to the theme’s locations. Block themes: Appearance, Editor, then the Navigation block in the header.
- Check the homepage setting. Settings, Reading decides whether the homepage shows your latest posts or a page. Some themes and demos change it.
- Add your logo and site icon (the small image in browser tabs) in the Site Editor or Customizer.
- Set colours and fonts once, globally, rather than page by page.
- Look at a post, a page and an archive on your phone.
- Delete unused demo pages if you imported demo content.
- Re-test your forms (contact, newsletter, checkout) by sending one yourself.
Block themes and classic themes: what changes in setup
Block theme | Classic theme | |
|---|---|---|
Where you change the design | Appearance, Editor (the Site Editor) | Appearance, Customize |
Header and footer | Edited as template parts with blocks | Theme options, widgets and menus |
Menus | Navigation block | Appearance, Menus |
Widgets | Replaced by blocks in templates | Appearance, Widgets |
Switching between the two | Your content stays; menus, widgets and header layouts need setting up again in the new style |
Neither type is better for everyone. Block themes give you more control without code; classic themes are what many older tutorials and premium themes still use. Pick the one whose editing style suits you, and expect a short setup session when you switch between types.
Free or premium theme?
A free theme from the WordPress directory is enough for most blogs and small business sites. Paying makes sense when you need a specific layout or feature the free ones do not offer, support from the developer, or a theme built for your type of site, such as a shop, a community or a directory. Whatever you choose, judge it by the checks in the table below rather than by the number of demos, and remember that premium themes often come with licence renewals for continued updates.
Customise without losing changes: child themes
If you plan to change the theme’s code or CSS files, do it in a child theme, so theme updates do not erase your work. For colours, fonts and layout, a block theme’s Site Editor or a classic theme’s Customizer is usually enough and needs no child theme. Our guide to creating a WordPress child theme the right way shows when you need one and how to set it up.
How to choose a theme that will not let you down
Check | Why it matters |
|---|---|
Last updated recently | An abandoned theme falls behind WordPress and PHP updates |
Supports your WordPress and PHP versions | Avoids the critical error on activation |
Works without five required plugins | Fewer moving parts, fewer things to break and update |
Fast on a phone | Test the demo on your own phone before you buy |
Clear documentation and support | You will need both the first time something looks wrong |
Licence and updates in your name | So you keep receiving updates if the person who set up the site moves on |
Where not to get themes
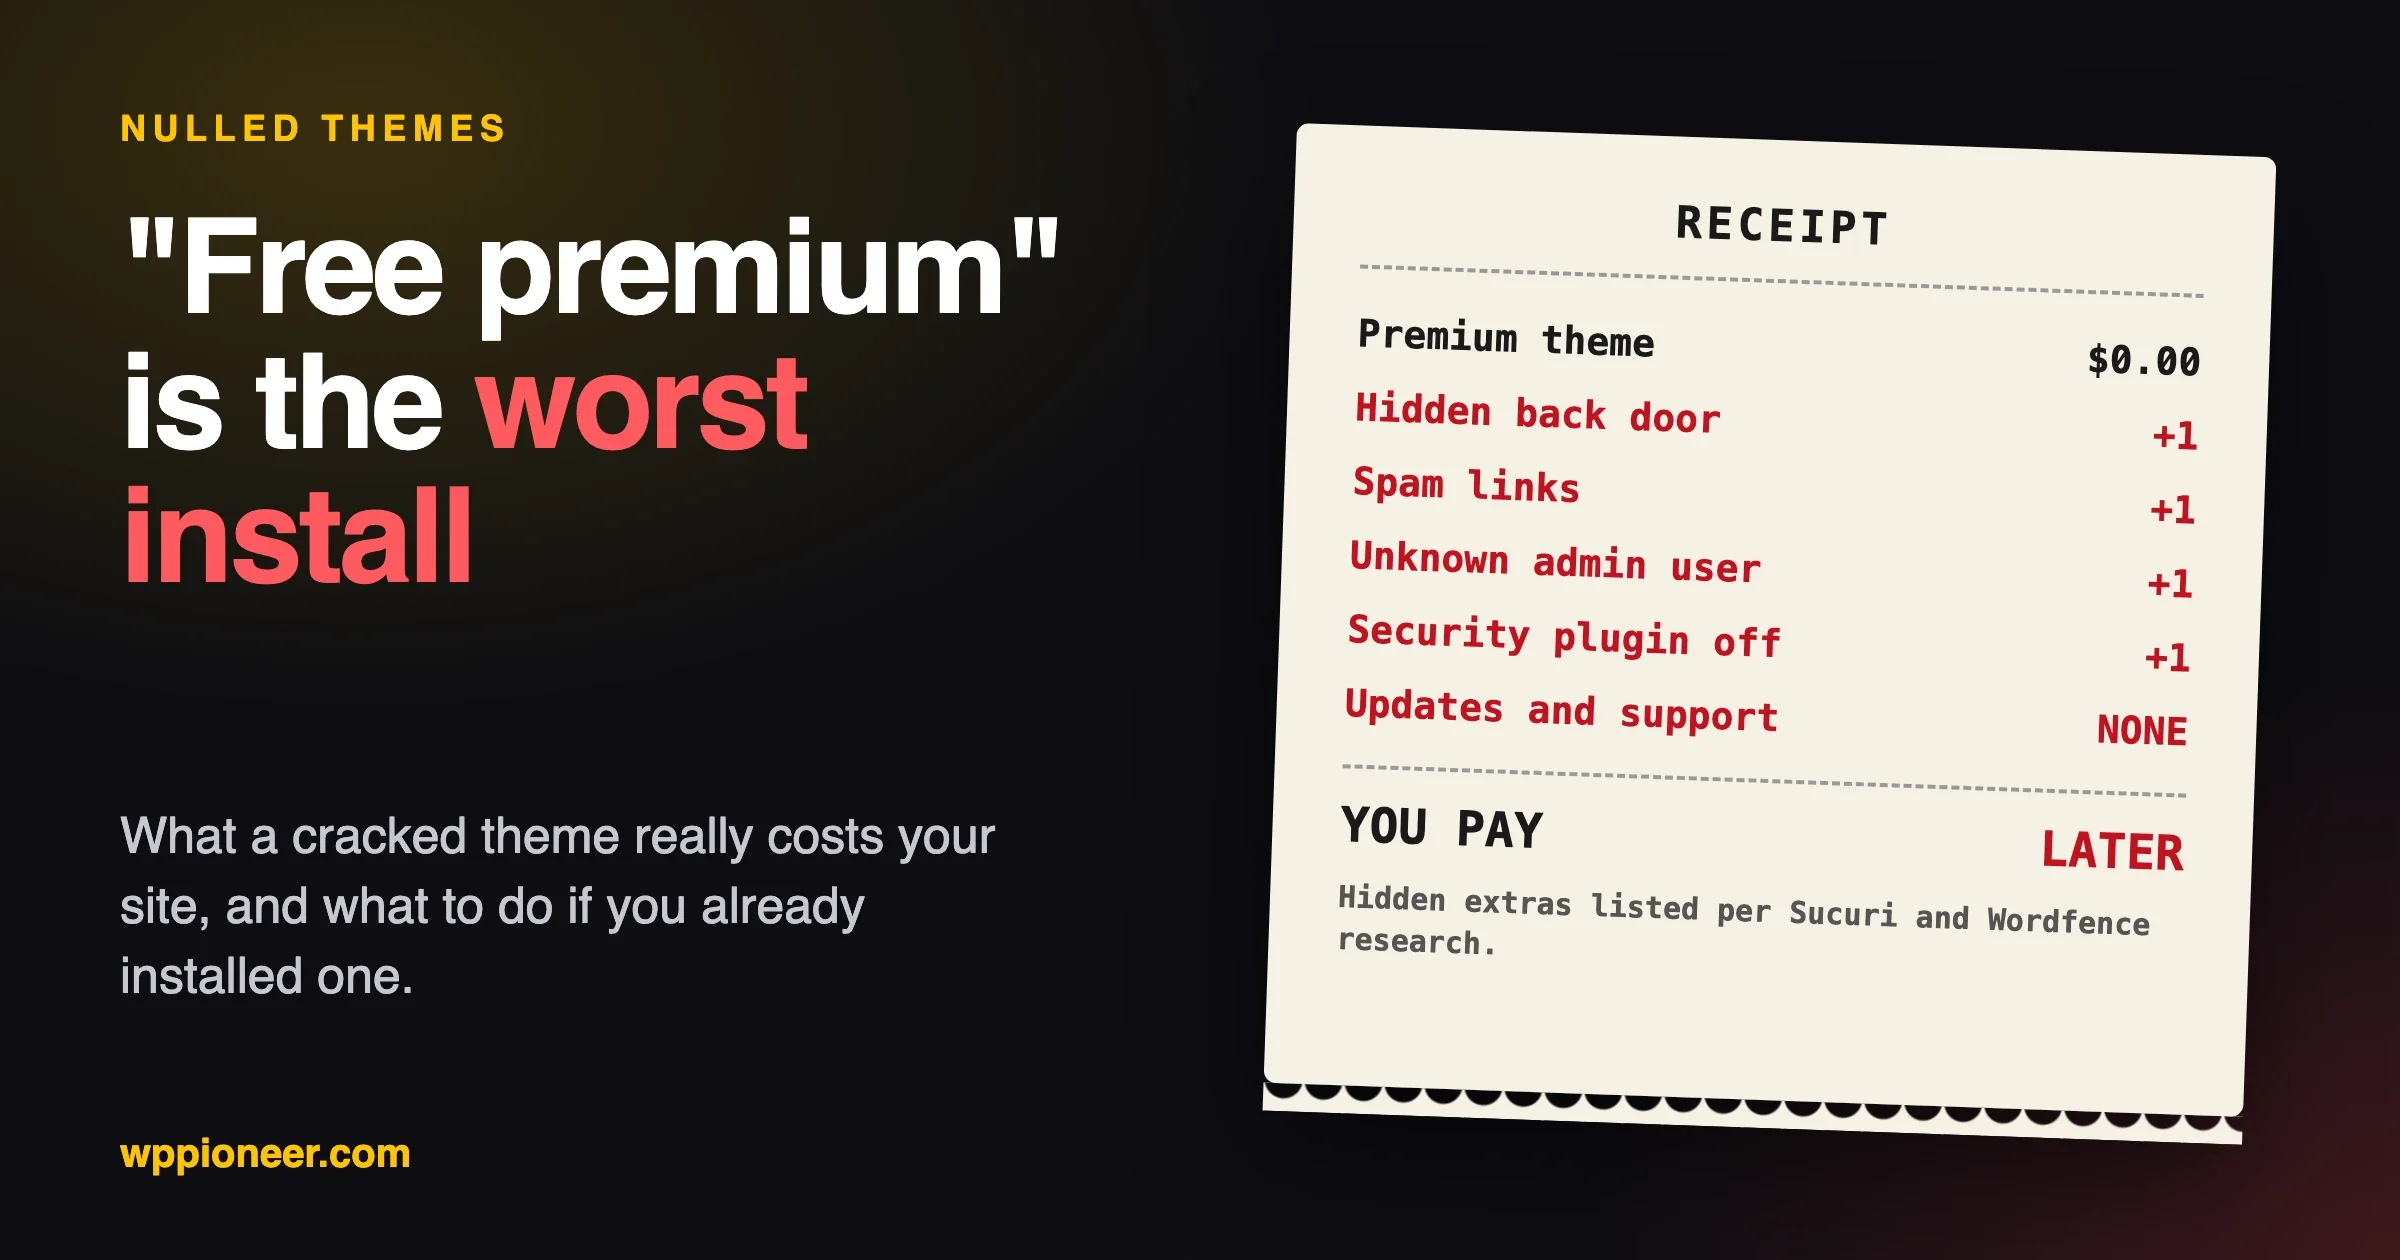
Avoid “free” copies of paid themes from download sites. These “nulled” themes are a common way malware gets onto WordPress sites, and they never receive updates. Get free themes from the WordPress directory and paid themes from the developer or the marketplace you bought from. If a price looks too good to be true for a theme that normally costs money, it is almost certainly a nulled copy, and the cleanup after an infection costs far more than the licence.
Updating a theme you installed by ZIP
Themes from the WordPress directory update from Dashboard, Updates. Paid themes either update the same way after you enter a licence key, or you download a new ZIP and upload it. In that case, take a backup, upload the new ZIP, and choose “Replace installed with uploaded” on the “Destination folder already exists” screen, which shows the installed and uploaded version numbers side by side so you can confirm you are moving forward.
Remove themes you no longer use
Inactive themes still sit on your server and still need updates, so an old, unpatched theme is a small security risk even when switched off. Keep your active theme, its parent if you use a child theme, and one default theme as a fallback. Delete the rest from Appearance, Themes: click the theme, then Delete in the bottom corner of the details window. Deleting a theme does not touch your posts or pages.
A quick checklist
- Backup taken
- Requirements match your WordPress and PHP versions
- Correct ZIP chosen (the theme, not the package)
- File smaller than the “Maximum upload file size” in Media, Add New
- Installed, then checked in Live Preview
- Menus and widgets reassigned after activating
- Demo content imported only on a new or staging site
- Customisations kept in a child theme or the theme’s settings
Frequently asked questions
How do I install a WordPress theme from a ZIP file?
Go to Appearance, Themes, Add Theme, then Upload Theme. Choose the ZIP, click Install Now, and then Live Preview or Activate. Upload the theme’s own ZIP, not a package that contains it.
Why does WordPress say the theme is missing the style.css stylesheet?
The ZIP you uploaded is not a theme. Most often it is the full download package with the theme ZIP inside it, or a plugin. Unzip the package and upload the inner theme ZIP.
Why do I get “The link you followed has expired” when uploading a theme?
Usually because the file is larger than your server’s upload limit, which you can see under Media, Add New as “Maximum upload file size”. Ask your host to raise it, or upload the unzipped theme folder by file manager or FTP.
Will changing my theme delete my posts?
No. Posts, pages and images stay where they are. Layout, menus and widgets may need adjusting, and features that came from the old theme, such as its shortcodes, stop working.
How do I install a theme with demo content?
Install and activate the theme, install the plugins it requires, then run its demo import tool as described in the theme’s documentation. Do this on a new or staging site, because imports add pages, menus and settings.
How do I install a WordPress theme in cPanel?
Open cPanel’s File Manager, go to your site’s wp-content/themes folder, upload the theme’s ZIP and use Extract. Check that the result is a single theme folder with style.css directly inside it, then activate the theme from Appearance, Themes in the WordPress dashboard.
Why is my theme not showing after I uploaded it by FTP?
Usually the folder is one level too deep, such as themes/theme-name/theme-name/style.css. Move the inner folder up so style.css sits directly inside themes/theme-name/, then reload Appearance, Themes.
Where are WordPress themes stored?
In the wp-content/themes folder of your WordPress installation, one folder per theme. Your posts and pages are not stored there; they live in the database.
Should I test a new theme on a staging site first?
For a site that already has visitors or sales, yes. A staging copy lets you install the theme, import demo content and fix menus without anyone seeing a half-finished site. For a brand-new site with no visitors, Live Preview is enough.
Can I have more than one theme installed?
Yes, but only one is active. Keep one default theme installed as a fallback, and delete others you do not use, because inactive themes still need updates.

No comments yet